
The first time I tried to see the northern lights, I booked a trip to Iceland in July.
I didn’t know any better. I saw pictures of green skies over glaciers and figured any time was a good time. Turns out, in July, Iceland barely gets dark at all. The sky stays lit up practically all night during summer, which means there’s zero chance of catching an aurora no matter how active the solar activity is.
That trip taught me a hard lesson before I even boarded the plane. Timing matters just as much as location when it comes to the northern lights, maybe even more.
Since then, I’ve chased the aurora borealis across a few different countries, made plenty of mistakes along the way, and finally started getting it right. If you’re thinking about planning a trip to see this yourself, let me save you some of the frustration I went through.
What The Northern Lights Actually Are
Skipping the science lecture here, but a quick explanation helps understand why location and timing matter so much.
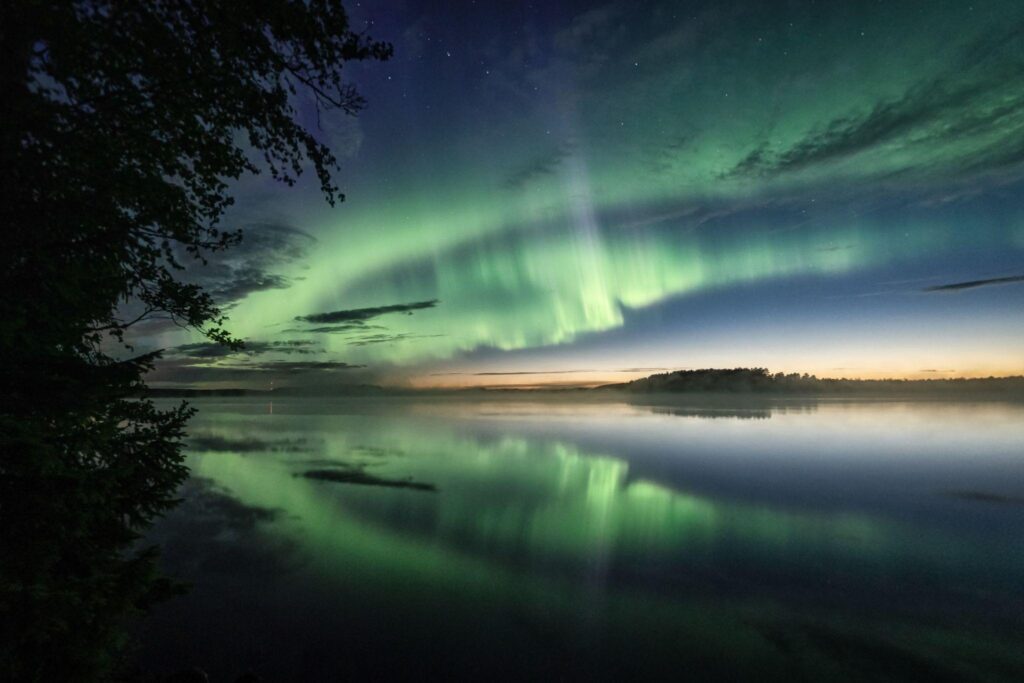
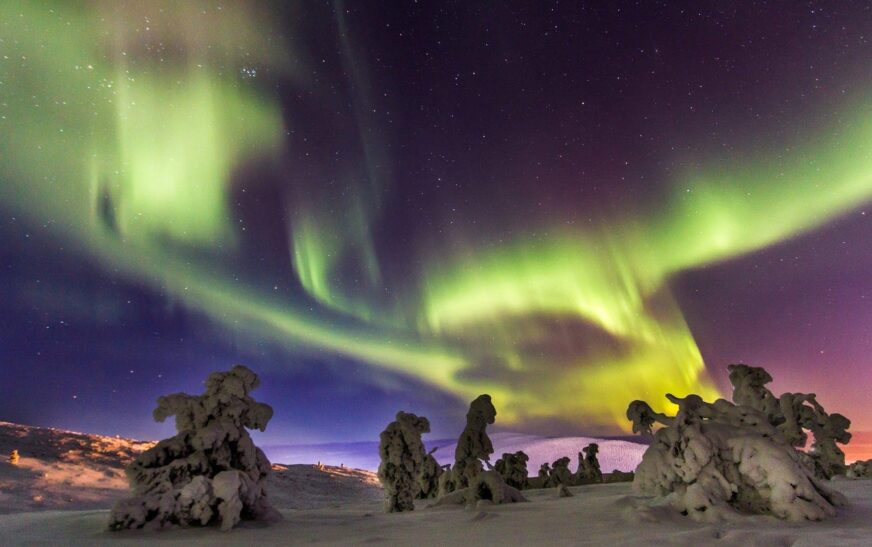
The aurora borealis happens when charged particles from the sun collide with gases in Earth’s atmosphere, creating those glowing curtains of green, pink, and purple light. This activity happens near the magnetic poles, which is why you need to be far enough north (or south, for the aurora australis) to see it.
The lights are always technically happening, but you can only see them under the right conditions. Dark skies, clear weather, and decent solar activity all need to line up at once.
Best Places To Actually See Them
Not every northern location works equally well. Some spots have better weather patterns, easier access, or higher chances of clear skies. Here’s what I’ve learned from research and personal trips.
Tromso, Norway
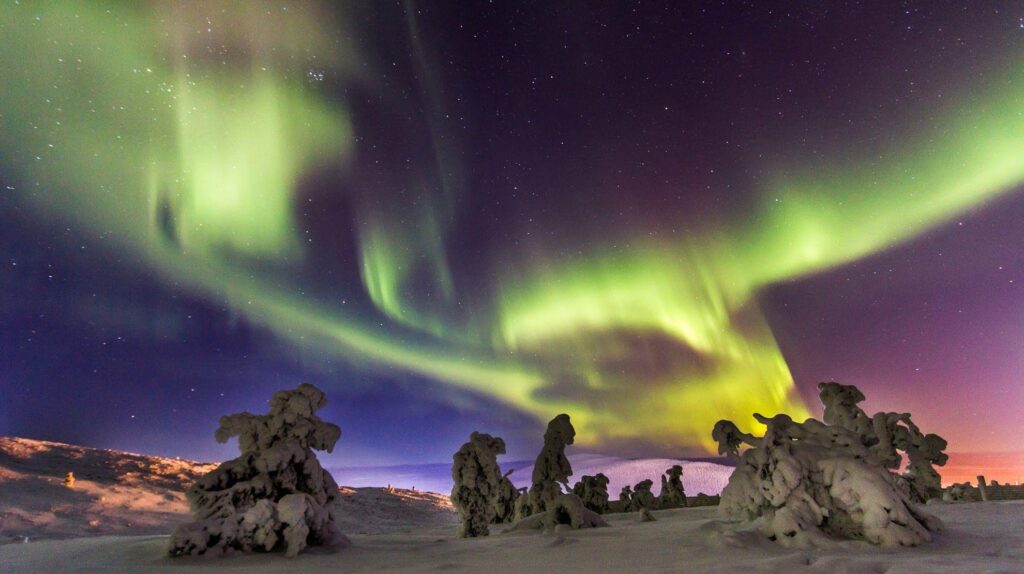
This is probably my favorite spot so far. Tromso sits well within the auroral oval, meaning the lights show up here more consistently than in a lot of other places.
I visited in late February and got lucky with three clear nights out of five. The city itself has decent infrastructure too, with tour companies that take you out of town away from light pollution.
One thing I didn’t expect was how cold it actually felt while standing still for an hour waiting for the sky to do something. Moving around during a hike keeps you warmer. Standing in a field staring up gets brutal fast, even with good gear.
Fairbanks, Alaska
Fairbanks gets less credit than it deserves. It sits almost directly under the auroral oval, and because it’s inland, the weather tends to be drier and clearer compared to coastal spots.
A friend of mine lives there and says the best viewing spots are just a short drive outside the city, away from streetlights. Chena Hot Springs Resort is a popular option since you can literally watch the aurora while sitting in a hot spring, which sounds ridiculous until you try it and realize it’s actually genius.
Yellowknife, Canada
Yellowknife has some of the highest aurora visibility odds in the world because of its location and consistently clear, dry winter skies. Local tour operators here are used to serious aurora chasers and often have heated viewing domes or teepees set up so you’re not just standing in freezing wind for hours.
I haven’t been yet, but everyone who has recommends going between November and March for the best combination of dark skies and clear weather.
Rovaniemi and Finnish Lapland
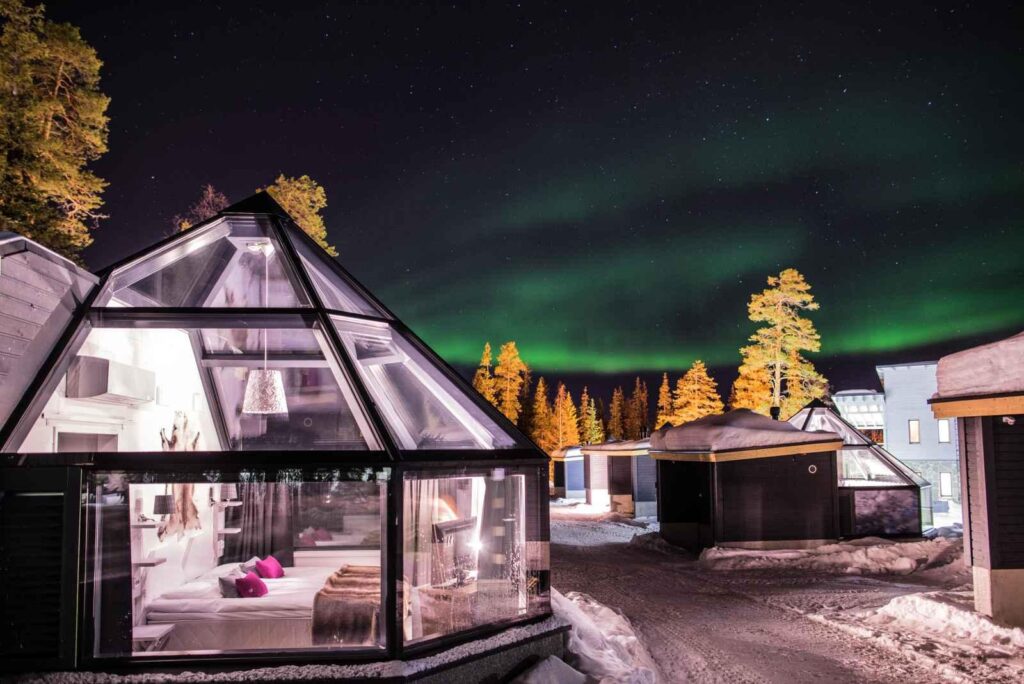
Finland’s Lapland region offers something different: glass igloos. Several hotels here, like the Kakslauttanen Arctic Resort, have rooms with glass ceilings so you can watch for the lights from your bed without freezing outside.
I stayed in a regular cabin nearby instead of the glass igloo because of budget, and honestly, stepping outside every 20 minutes to check the sky worked just fine too. You don’t need the fancy glass room, though it’s a nice option if you can afford it.
Abisko, Sweden
Abisko has a reputation among aurora chasers for a specific reason. It sits in what’s sometimes called a “blue hole,” a microclimate where surrounding mountains create clearer skies than nearby areas, even when it’s cloudy elsewhere in the region.
The Aurora Sky Station here has a chairlift that takes you up a mountain specifically for viewing, away from valley clouds. I met a couple during my Tromso trip who had just come from Abisko and said the clear sky odds there felt noticeably better than other Nordic spots they tried.
Step-By-Step: Planning A Trip Around The Aurora
Here’s the process I now use every time I plan one of these trips, after learning the hard way what not to do.
Step 1: Pick the right season. Aim for late September through early April. This is when nights are long and dark enough in high-latitude locations. Summer months don’t work because the sky never gets dark enough.
Step 2: Check the solar cycle. The sun goes through an 11-year cycle of activity, and aurora visibility tends to improve during solar maximum years. Checking current solar activity forecasts through NOAA’s Space Weather Prediction Center gives you a general sense of what to expect for the season.
Step 3: Book at least 4 to 5 nights. This one is huge. Clouds ruin more aurora trips than weak solar activity does. Giving yourself several nights increases your odds of getting at least one or two clear skies.
Step 4: Use an aurora forecast app once you’re there. Apps like My Aurora Forecast or the Aurora Alerts app give you real-time data on the KP index, which measures geomagnetic activity. A KP index of 3 or higher generally means decent chances, though lower numbers can still work in high-latitude spots like Tromso or Abisko.
Step 5: Get away from city lights. Light pollution kills faint auroras before you even notice them. Most tour companies drive you 20 to 40 minutes outside major towns for this reason. If you’re on your own, look up dark sky maps for your destination beforehand.
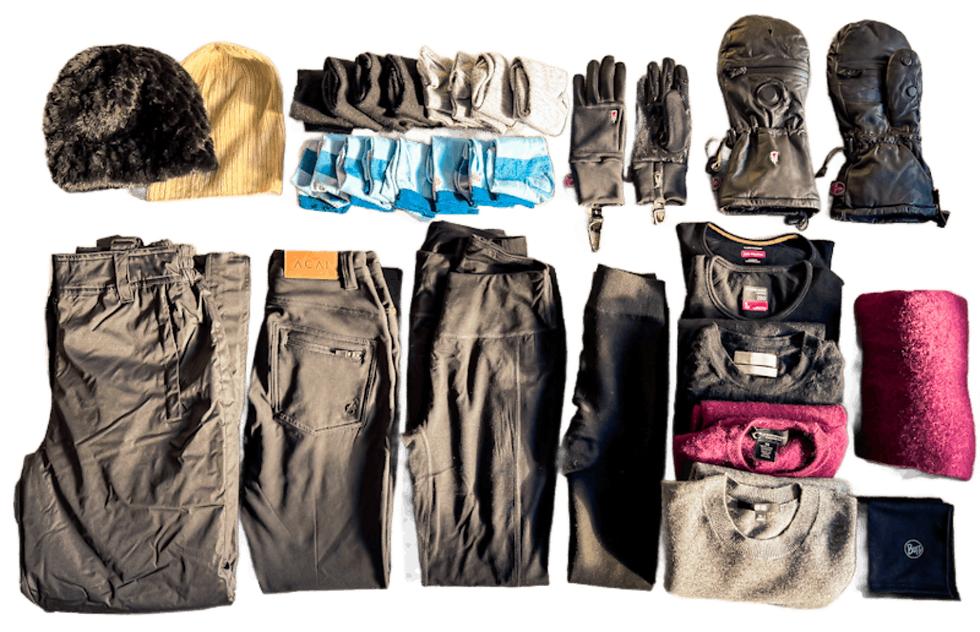
Step 6: Dress like you’re staying outside for hours, because you might be. Layering matters more than one heavy coat. Thermal base layers, wool socks, insulated boots, and hand warmers make a bigger difference than people expect. I underestimated this on my first successful trip and ended up cutting a viewing session short because my feet went numb.
Real Examples From My Own Trips
My first successful sighting happened in Tromso, on a night I almost skipped because it was cloudy earlier in the evening. Around 10pm, the clouds cleared unexpectedly, and within twenty minutes, faint green streaks appeared overhead. It started subtle, almost like a hazy cloud, then slowly turned brighter and started moving.
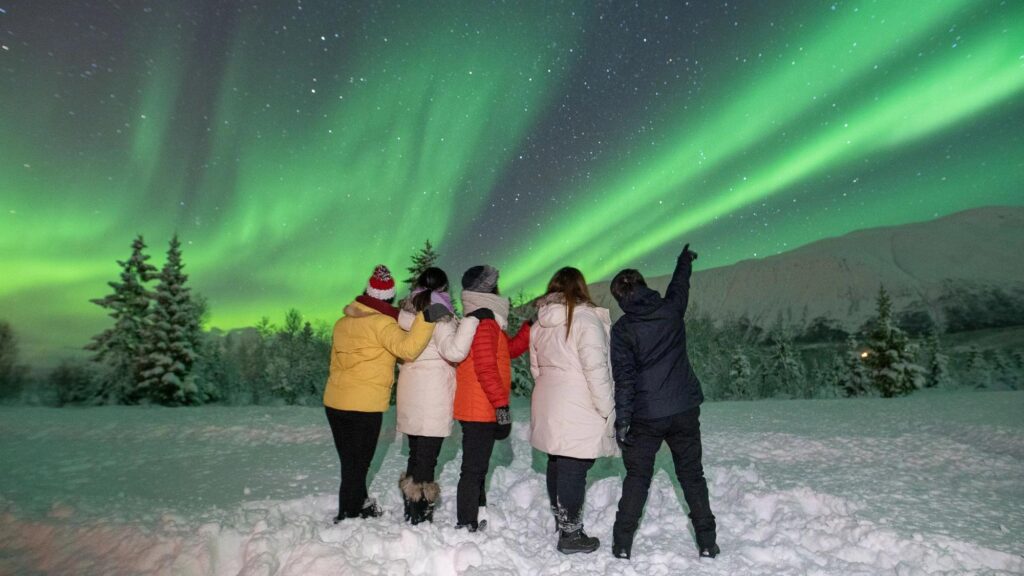
I made the mistake of fumbling with camera settings for the first ten minutes instead of just watching. By the time I got my shots figured out, the strongest part of the display had already faded. Lesson learned: watch first, photograph second, especially if it’s your first time seeing it.
On a different trip near Fairbanks, a clear KP index of 5 predicted for the evening turned into nothing because of unexpected cloud cover that rolled in around sunset. Forecasts help, but they’re not guarantees. Weather can change fast, especially in mountainous or coastal regions.
Common Mistakes People Make
Traveling during the wrong season tops the list. Summer trips to aurora destinations for anything other than hiking or sightseeing waste the opportunity completely.
Booking only one or two nights is another common issue. I get it, trips are expensive, but if clouds show up on your only night, you’ve got nothing to fall back on.
Ignoring the moon phase trips people up too. A bright full moon washes out fainter auroras, similar to how city lights do. Checking a lunar calendar alongside your travel dates helps you avoid this.
Relying entirely on phone cameras without adjusting settings often leads to disappointing photos. Most phones need night mode or manual settings with a longer exposure time to actually capture the lights the way your eyes see them. A basic tripod helps a ton here since even small movements blur long-exposure shots.
Giving up too early during a viewing session is another one. Auroras often start faint, disappear, then come back stronger later. I’ve seen people leave after twenty minutes of nothing, only for the sky to light up an hour later.
Gear That Actually Helped Me
A few items became essential after multiple trips.
Hand and toe warmers made standing outside bearable during longer sessions. A basic tripod, even a lightweight travel one, made a huge difference for photos compared to trying to hold a camera steady in freezing temperatures.
A headlamp with a red light setting helps you see without ruining your night vision or messing with other people’s long-exposure shots if you’re in a group setting. White light headlamps are honestly kind of rude to use around other aurora watchers.
Portable phone battery packs matter too, since cold weather drains batteries fast, and you don’t want your phone dying right when the sky finally lights up.
Final Thoughts
Seeing the northern lights for real, after months of looking at photos online, felt different than I expected. Photos never quite capture how the lights move, shifting and pulsing in ways that feel almost alive.
Getting there takes some planning, patience, and honestly, a bit of luck with weather. But once you understand the basics, picking the right season, checking forecasts, and giving yourself multiple nights, your odds go up significantly.
Whether you end up in Tromso, Fairbanks, Yellowknife, or tucked into a cabin in Finnish Lapland, the wait in the cold becomes worth it the moment that first streak of green appears overhead.